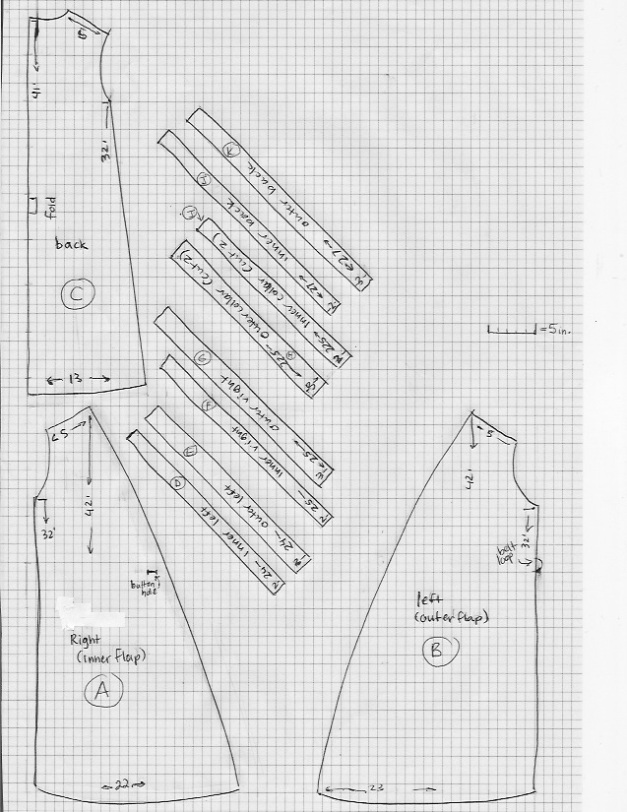
The Pattern:
All measurements are imperial and each square of the grid is equivalent to an inch in scale. Please forgive the smudges. I fought the ink, and it won. Disclaimer: I am not a professional seamstress, and mostly self taught.
The Materials:
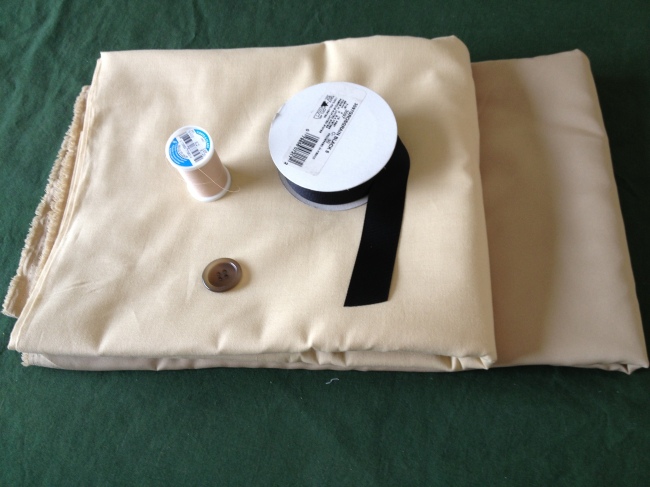
2 1/2 yards cotton
2 1/2 yards lining material
2 yards grosgrain ribbon for the belt
1 button
2 inches thin ribbon or cord for belt loop
thread
I picked out a cotton material that had the nice buttery color of old paperbacks and a lining of a slightly darker color. If you prefer the crisp white of the pages of an unread hardcover, or the darker tan of fallen leaves and old pulp books, or chartreuse or grey, it is up to you. I do recommend cotton fabric though, because it is easier to write on.
Step 1: Drawing the Pattern
Drawing the pattern is pretty simple; it just takes some careful measuring. I use wrapping paper, because it is the right width, and I usually have some on hand.
I draw it out with pencil first so that I can make corrections, then trace the final lines with marker so I don’t get them mixed up when I start cutting.
Don’t forget to leave a little extra room for the seam allowance (usually a half inch is fine). It is better to err on the side of having too much fabric than too little. You can always take it in if it is too large, but if you make it too small, you can only cut larger pieces and try again.
Step 2: Cutting
Lay out your fabric and iron if necessary. I have often skipped this, being rebellious and disinclined to iron things in general, but it does save later heartache.
Pin the pieces of pattern on the fabric, remembering to pin the main pieces (A,B,C) with the grain, and the trim on the diagonal.
Step 3: Sewing the Trim
Starting with the trim, you may notice that the lining pieces are smaller than the outer pieces.
Lay them out with the trim in the middle, then fold 1/3 of the fabric over and pin.
Sew a seam 1/2 inch from the folded edge.
Sew the two pieces of collar trim together, then sew the edges flat. The seam will line up with the center of the back piece (C).
Join the three pieces of trim for the bottom, G/F to J/K to D/E.
Step 4: Sewing the Body
Next, pin and sew the side seams together on the cotton pieces together, A to C and B to C (the bit below the arm hole swoops.) Don’t forget to sew in the belt loop in the seam.
After you have both the sides attached, sew the shoulder parts together.
Sew the seams on the cotton outer portion so that they face in. Repeat assembly with the lining, sewing so that the seams in the lining face out. When you put the two pieces together, the raw edges of the seams should touch.
It might be tempting to sew the lining to the outer layer. Do not do this; sew the pieces together separately so that you have two pieces made of three parts.
Step 5: Sewing the long seams
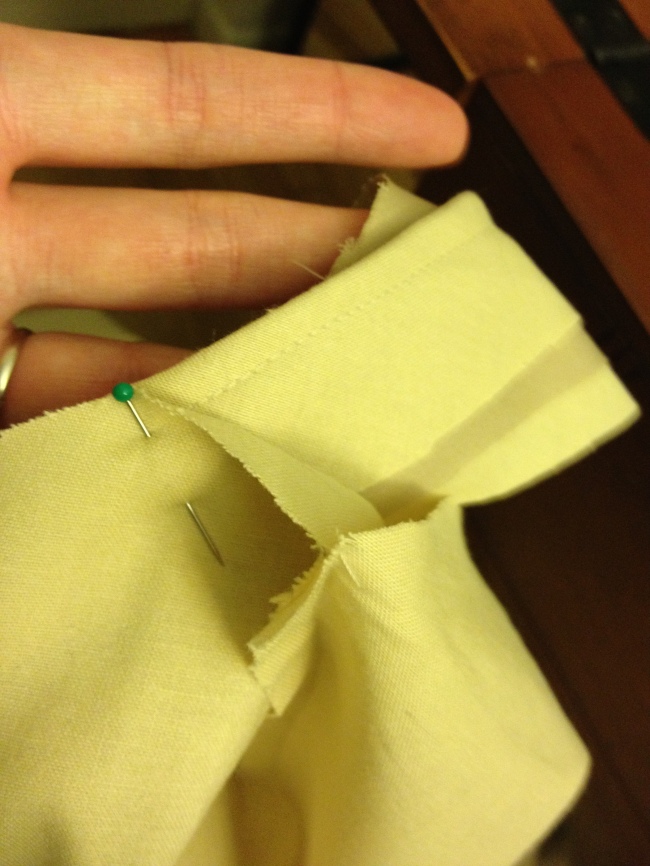
Pin together the lining and shell so that the seams are facing out. Pin the collar trim on the inside, with the seam side pinned to the edge. The side of the trim with layers should face the cotton, outer shell.
You should now have one long seam to sew, starting at the bottom of piece A, up around the collar on part C, and back down the edge of piece B.
 After you finish this seam, turn the dress right-side out and pin the seam flat. Sew over it one more time to stabilize it.
 Next, fold in the raw edges on the sleeves and pin.
Next, hem the lining inside the dress. This will make it shorter than the cotton shell.
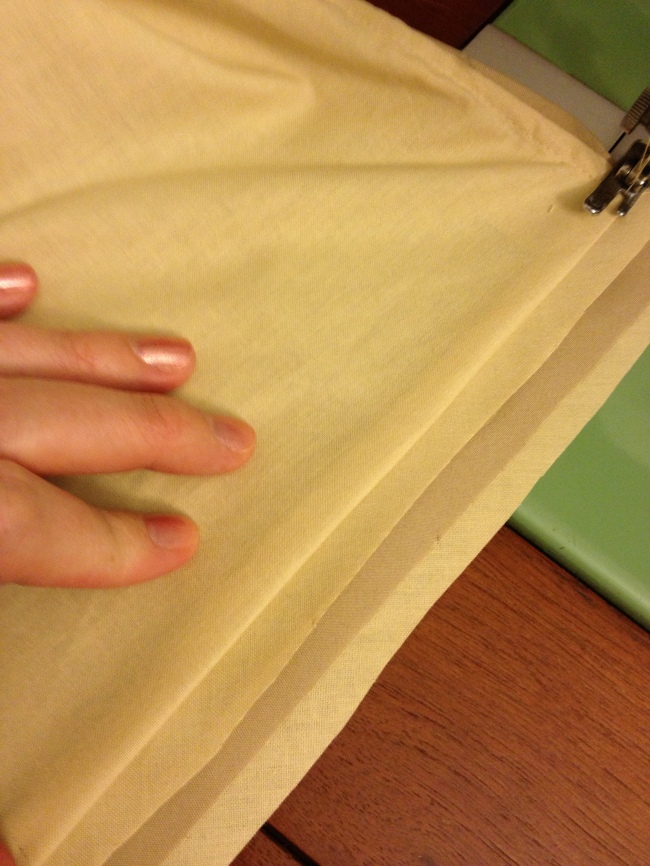
 Attach the trim to the bottom of the dress. First pin it on the outside, so that the seam on the trim lines up with the raw edge of the dress, with the layered side facing the cotton. Sew it on, then fold it over so that the trim is hanging down. Reinforce this by sewing over it again.
Next, cut and sew your buttonhole. Some of you may have fancy machines that have a buttonhole setting; mine only has a straight stitch, which is pleasantly uncomplicated. I sewed a narrow rectangle around the slit for the hole to reinforce it, then did a simple buttonhole stitch to finish the edges.
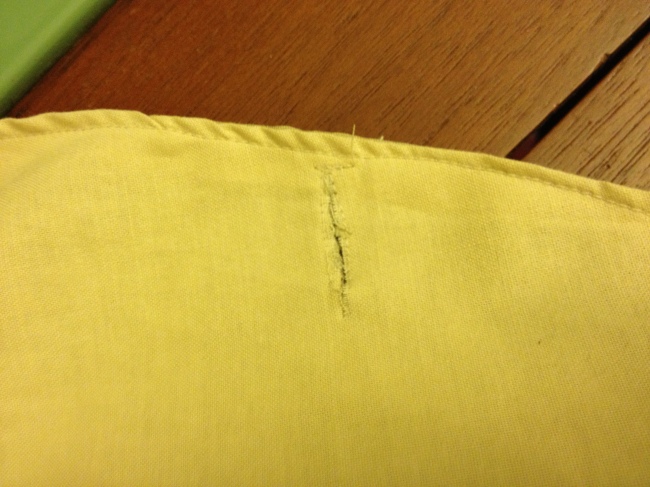 Use the placement of the buttonhole to find the placement for the button. Stitch it to the inside of the opposite flap. Don’t worry about the visibility of your stitching; the writing will cover it up.
 Now you have a perfectly fine dress, missing only the belt. If you want to stop now, there is no shame in that.
The next part is laying this dress out and copying out the story. You may want to write it out in pencil first, but I like to just go for it in Sharpie.
 One of my favorite parts of this is seeing what words end up next to each other, and how they line up on the dress. It makes for some interesting combinations, and I enjoy the surprise. If you think your handwriting is terrible and can bribe someone else to write it out, that is perfectly fine, as is using block lettering or templates. The point is to make it yours.
 This is as far as the text goes in my handwriting. A complete story, start to finish, and some extra space. I start the story again, starting with the bears (because the scariest part is always the best, and everyone loves the bears.) I re-write the ending, getting progressively sloppy until the end is just scribbles, falling apart like the igloo at the end.
 Once all of the words are written, the next step is set the ink by ironing it. “Hot, steaming Sharpie? Won’t that smell like the fetid morning breath of Satan himself?” you might ask.
After the dress has been ironed, it is safe to attach the belt. Pin it so that the side that threads through the belt loop is 43 inches, leaving 29 inches to hang off the edge. Sew just the bit that lines up with the edge.
If you’d like to finish the edges of the ribbon, you can just fold the ends over 1/4 inch, then fold it over again and stitch the folds in place.







This is everything I have ever wanted.
This is awesome!
This is beautiful. Lovely concept and execution.
I’m gonna die this is beautiful
This is amazing! So beautiful. You are very talented, and I would love to have something like this. It’s just a work of art. Thanks for sharing!
Gorgeous!
That’s glorious!